Wednesday, June 26, 2013

Cleaning Beyond the Basics Week 5: Coffee Pot Vinegar Cleaning


It's not very exiting to look at, but I wanted to be sure to do a vinegar rinse on my coffee pot. It seems like something that should be done on occasion, and we've been using this coffee pot daily for nearly 2 years so it seemed like it was time. (We do wash the pot, pot lid, filter basket, basket lid, and filter holder daily.)

I removed the coffee grounds from the filter basket, added 5 cups of cold water and 5 cups of vinegar, and brewed a pot of vinegar water. (It smelled lovely.) The vinegar-water was definitely a light shade of brown when I poured it out.

I drained the pot and 'brewed' two additional pots of plain water to 'rinse' the vinegar out of the machine. Honestly? I hope I don't notice any difference to the taste of the coffee!

Time Investment: 20 Minutes--minimal hands-on time just to refill the pot to rinse.
Materials: vinegar and water
Payoff: hopefully a longer-lasting coffee maker?

 So far I've washed a door, cleaned ice cream out of a utensil drawer, cleaned my dishwasher gasket, and found a computer screen cleaner. Up next...

Tuesday, June 25, 2013

Molasses Glazed Chicken Thighs

This is one of our favorite grilling marinades! I usually double or triple the marinade amount to make 3-5 meals' worth of chicken, then freeze it until needed.

Ingredients for one meal:
  • 3/4 cup blackstrap molasses
  • 1/3 cup soy sauce
  • 1/4 cup fresh lemon juice (or juice of one lemon)
  • 1/4 cup olive oil
  • 3 garlic cloves, minced
  • 1 tsp pepper
  • 1 tsp salt
  • 12-18 skinned and boned chicken thighs (no skin, no bones, but if you have bone-in thighs, just be sure to cook them significantly longer until the internal temp is at least 160 degrees)
Multiply ingredient amounts if preparing batches for freezer meals.

Combine molasses, soy sauce, lemon juice, and olive oil, preferably in a mixing bowl with a pour spout. TIP: Measure and pour the olive oil first, then measure the molasses, which will not stick to the measuring cup if it is coated in a layer of oil!

Place chicken thighs in resealable freezer bag (or freezer bags). Sprinkle with 1 tsp salt and 1 tsp pepper. Place minced garlic into bag or bags. Pour marinade over chicken, remove air and seal bag. Agitate bag to combine ingredients.

Marinate in refrigerator for 6-8 hours minimum, or freeze. (If frozen, defrost in refrigerator overnight before cooking.)

Grill 4-6 minutes per side on medium-high heat, basting after first turn. but no less than 5 minutes from completing cooking. Find grilling guidelines here.

Friday, June 7, 2013

Freezer Meal Session: 24 lbs of Chicken Part 3 (Done!)

I needed one final hour in the kitchen to finish my chicken project. The good news is this time I didn't have to handle any raw chicken parts. Whew!

 I made Sweet Asian Marinade and added it to 3 bags of boneless skinless breasts. I was originally planning 4 bags, but my 8 year old is eating like crazy these days, so I made 3 larger portions. In the past I would stretch 3 chicken breasts for 4 family members by serving it sliced like this:
Cooked Chicken is way more appetizing in pictures! ;)

I  also made up a double batch of Baked Chicken Finger Topping--this is a nutrient-rich breading for chicken that helps get a bit more fiber in my kids' diets. I store it in a freezer bag and pull out just enough to bread the chicken I need for dinner. By portioning carefully, I will have just enough for 3 meals.

The final count: 11 Meals! Only 10 are pictured here because we already ate one meal. :)


11 meals, 2.5 hours of work over 3 days... and they all fit in the freezer!

Thursday, June 6, 2013

Freezer Meal Session: 24 lbs of Chicken Part 2

I had another 45 minutes time frame today during which I wrassled with more raw chicken!

I used paper towels to remove some of the moisture from the chicken...
But I reminded myself, after messing with chicken both yesterday and today, I'll have tons of chicken prepped for future meals, no handling/cutting/drying required!

The 6 lbs of boneless skinless chicken thighs (30 total) are perfect for three 10-piece meals of Molasses Glazed Chicken Thighs--super delicious and quick on the grill! AND I know from experience that a double batch of marinade is enough for 3 meals' worth of chicken, so I doubled the recipe.
Makin' Marinade
I had all the ingredients on hand (molasses, soy sauce, olive oil, fresh lemons for lemon juice--worth it), plus garlic, salt, and pepper. I recommend distributing the garlic, salt, and pepper to the individual bags before adding the marinade.
And then mix the contents together before freezing.
I had a few extra minutes, so I prepped the large quantity of garlic that I will need for the next marinade. I decided that 20 was plenty. :)
And that was it! One more marinade, and one batch of chicken tender topping, plus a final count of meals, then I will be done! Read about it here.


Wednesday, June 5, 2013

Honey Mustard Chicken

 Tonight my son asked, "Mom, can you make that chicken with the green things on it?"

After a few clarification questions, I figure out he meant this recipe, which is super easy! (The green things aren't very green, but he says this is the one :)

Ingredients:
  • Chicken. The original recipe calls for 3 lbs of bone-in chicken of choice, but you can use this mixture with any chicken you prefer, with or without bones!
  • Salt and Pepper
  • 1/2 cup honey
  • 2 Tablespoons Dijon-style mustard 
  • 1 Tablespoon herbes de Provence
  • 1 teaspoon Worcestershire or soy sauce (optional)

Preheat oven to 400 degrees. Lightly oil a baking dish and place chicken in the dish. Season with salt and pepper.

Meanwhile, bring honey, mustard, herbes de Provence and soy sauce to boil in small saucepan. Pour over chicken in baking dish.
Here I used 'tenderloin' sized pieces of chicken breast for a super-fast dinner.

Bake for 40-45 minutes (if using bone-in chicken) or less time if using boneless chicken.

Based on a recipe I cut out of the newspaper years ago... I am not able to locate it online anywhere.

Freezer Meal Session: 24 lbs of Chicken Part 1

The freezer is pretty much empty, which means that it's a great time to prep large quantities of summer meals! I decided to start with chicken, and since I didn't do any actual *cooking* I'm calling these 'Freezer Meal Prepping' Sessions instead of 'Cooking' sessions. Hooray for no sweating over a hot stove!


I picked up 24 pounds of chicken from the store the other day for $65. (Yes, chicken is expensive in my area!)
  • 18 pounds of boneless skinless chicken breasts (27 total)
  • 6 pounds of organic chicken thighs (30 total)
I spread the work over two days so that it would fit into my schedule.

Part 1
The first day I focused on processing the boneless skinless breasts. You can read more tips for prepping chicken breasts here.

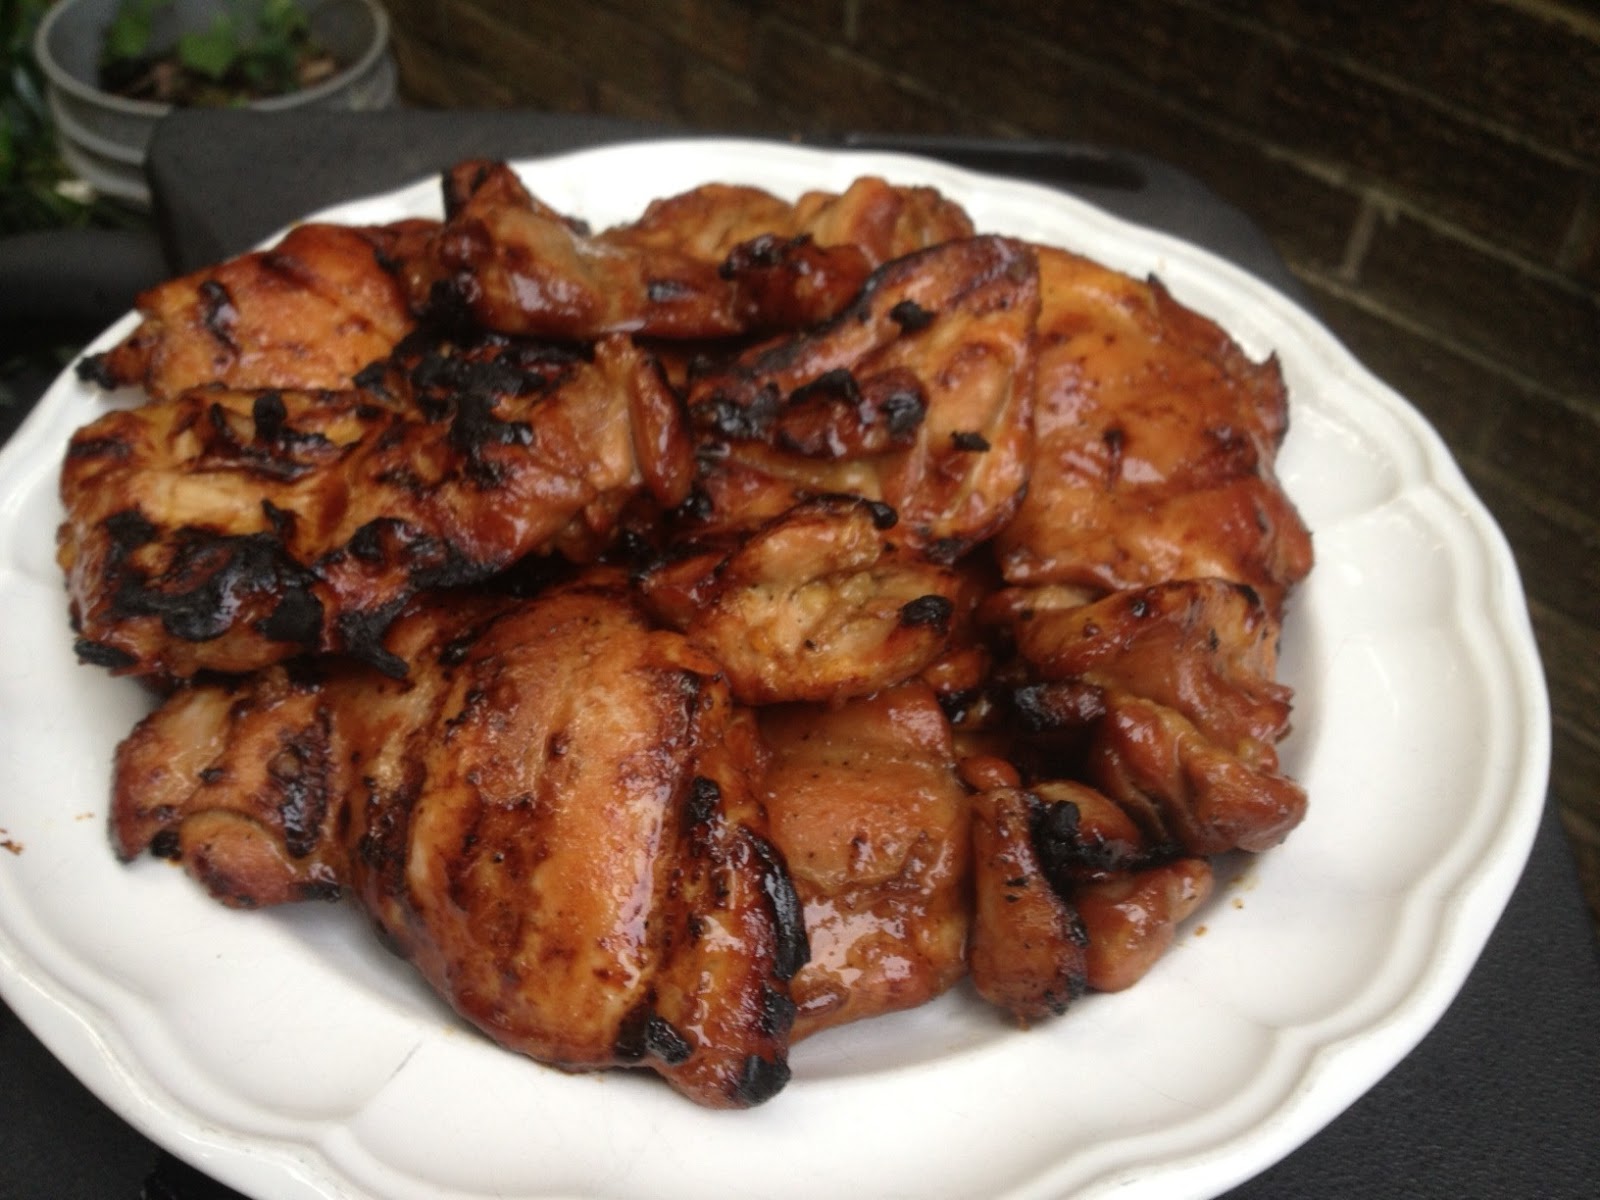
First I opened all 3 packages and inspected all of the chicken breasts. Some are nicely shaped for grilling or filleting, others have shreds of meat hanging off. Some are HUGE--way larger than one serving size of meat. I picked out 12 nice-looking, moderate sized breasts to be marinated for grilling. Now they are ready to be marinated and frozen with Sweet Asian Chicken Marinade.
A 'Messy' Piece
I cut off the 'messy' part and suddenly this piece is a great candidate for the grill!

Next I picket out the 8 largest, thickest breasts to be cut in half horizontally (filleted). I bagged the filets between pieces of waxed paper (so I can pull them apart easily after they defrost). I can use them for Lemon Chicken or even just salt/pepper/flour them, then pan fry for a quick easy weeknight meal. 16 filets equals 2 meals' worth for our family of 4 plus some leftovers for lunches.
'Tenderloins'

Finally I cut up the 'messy' chicken breasts into 'tenderloins'. These chicken pieces tended to have tears in them or big messy pieces hanging off. Now that they are tenderloin sized, they will bake up in the oven in less than 15 minutes. I try to cut them into relatively uniform sizes. You could make them 'nugget' sized or 'kebab' sized as well. I have two coating recipes that I can use for them: Baked Chicken Tenderloins and Pumpkin Seed Crust. I divided 35 tenderloins into 3 meals of approximately 12 tenderloins each.

Once everything was bagged and labeled, I loaded it back into the fridge in a large storage container and went ahead and froze the filets and tenderloins, which I will season after defrosting.

It only took 45 minutes! Next I will make 2 marinades, a coating for the tenders, and pack everything into the freezer... read about it here.

Tuesday, June 4, 2013

Cleaning Beyond the Basics Week 4: Computer Screens

I'm back to Cleaning Beyond the Basics after several life interruptions...

I'm always nervous about cleaning our computer screens. As a result they are really gross! The worst is when I need someone else to use my computer. I feel so bad that it is so yucky.


I have a microfiber cloth that came with a laptop computer, but a) it's filthy and b) it doesn't seem to do much more than dust the top layer of 'uck' off the screen. (I threw it in the washing machine so that it will be more effective for future dusting--note that I don't recommend using fabric softener on it so that it will continue to pick up dust fibers!) It works fine for the rest of the computer, though.

It's difficult to see, but trust me, this screen is covered with gunk. Why I do not know, I don't often eat at the computer. The gunk just builds up!

I recently bought an economy size pack of lens cleaning cloths, which were supposed to be for my perpetually dirty glasses and smart phone--I am a very oily person and need to clean my phone basically every time I use it as a phone. :(

I noticed that the picture includes laptops, so I went ahead and tried them out on the screen. They cleaned the screen safely, and it only took 6 of them to scrape off all the layers! I then repeated the process with two other cloudy household screens. It took a bit of elbow grease, but now you can actually see what's on the screen! Or in the case of this photo, what is reflected in the screen. :)

I'm stowing a few packets of cleaning wipes in my office, purse, and computer bag so that I can keep up with the gunk a little better in the future.

Time Investment: 20 Minutes--lots of rubbing involved to de-gunk the screens
Materials: magic disposable lens cleaning cloths
Payoff: Immediate: I can share my devices with others and not gross people out!

 So far I've washed a door, cleaned ice cream out of a utensil drawer, cleaned my dishwasher gasket, and found a computer screen cleaner. Up next...